


Creating Infrared Images with a Digital Camera
Creating Infrared Images

Creating infrared images with digital cameras can result in stunning and ethereal photographs that showcase a unique perspective of the world. There are two primary methods for achieving infrared imagery: using filters with a standard digital camera or using a converted digital camera.

Here are tutorials covering both approaches:
Using Infrared Filters:
Equipment Needed:
Digital camera (preferably DSLR or mirrorless)
Infrared filter (such as a Hoya R72 or a similar brand)
Tripod (for long exposure times)
Remote shutter release (optional but recommended)
Lens hood (to minimize lens flare)
Steps:
Choose the Right Filter: Select an infrared filter compatible with your camera's lens thread size. Common options include the Hoya R72 or similar infrared-passing filters.
Attach the Filter: Screw the infrared filter onto the front of your camera lens securely.
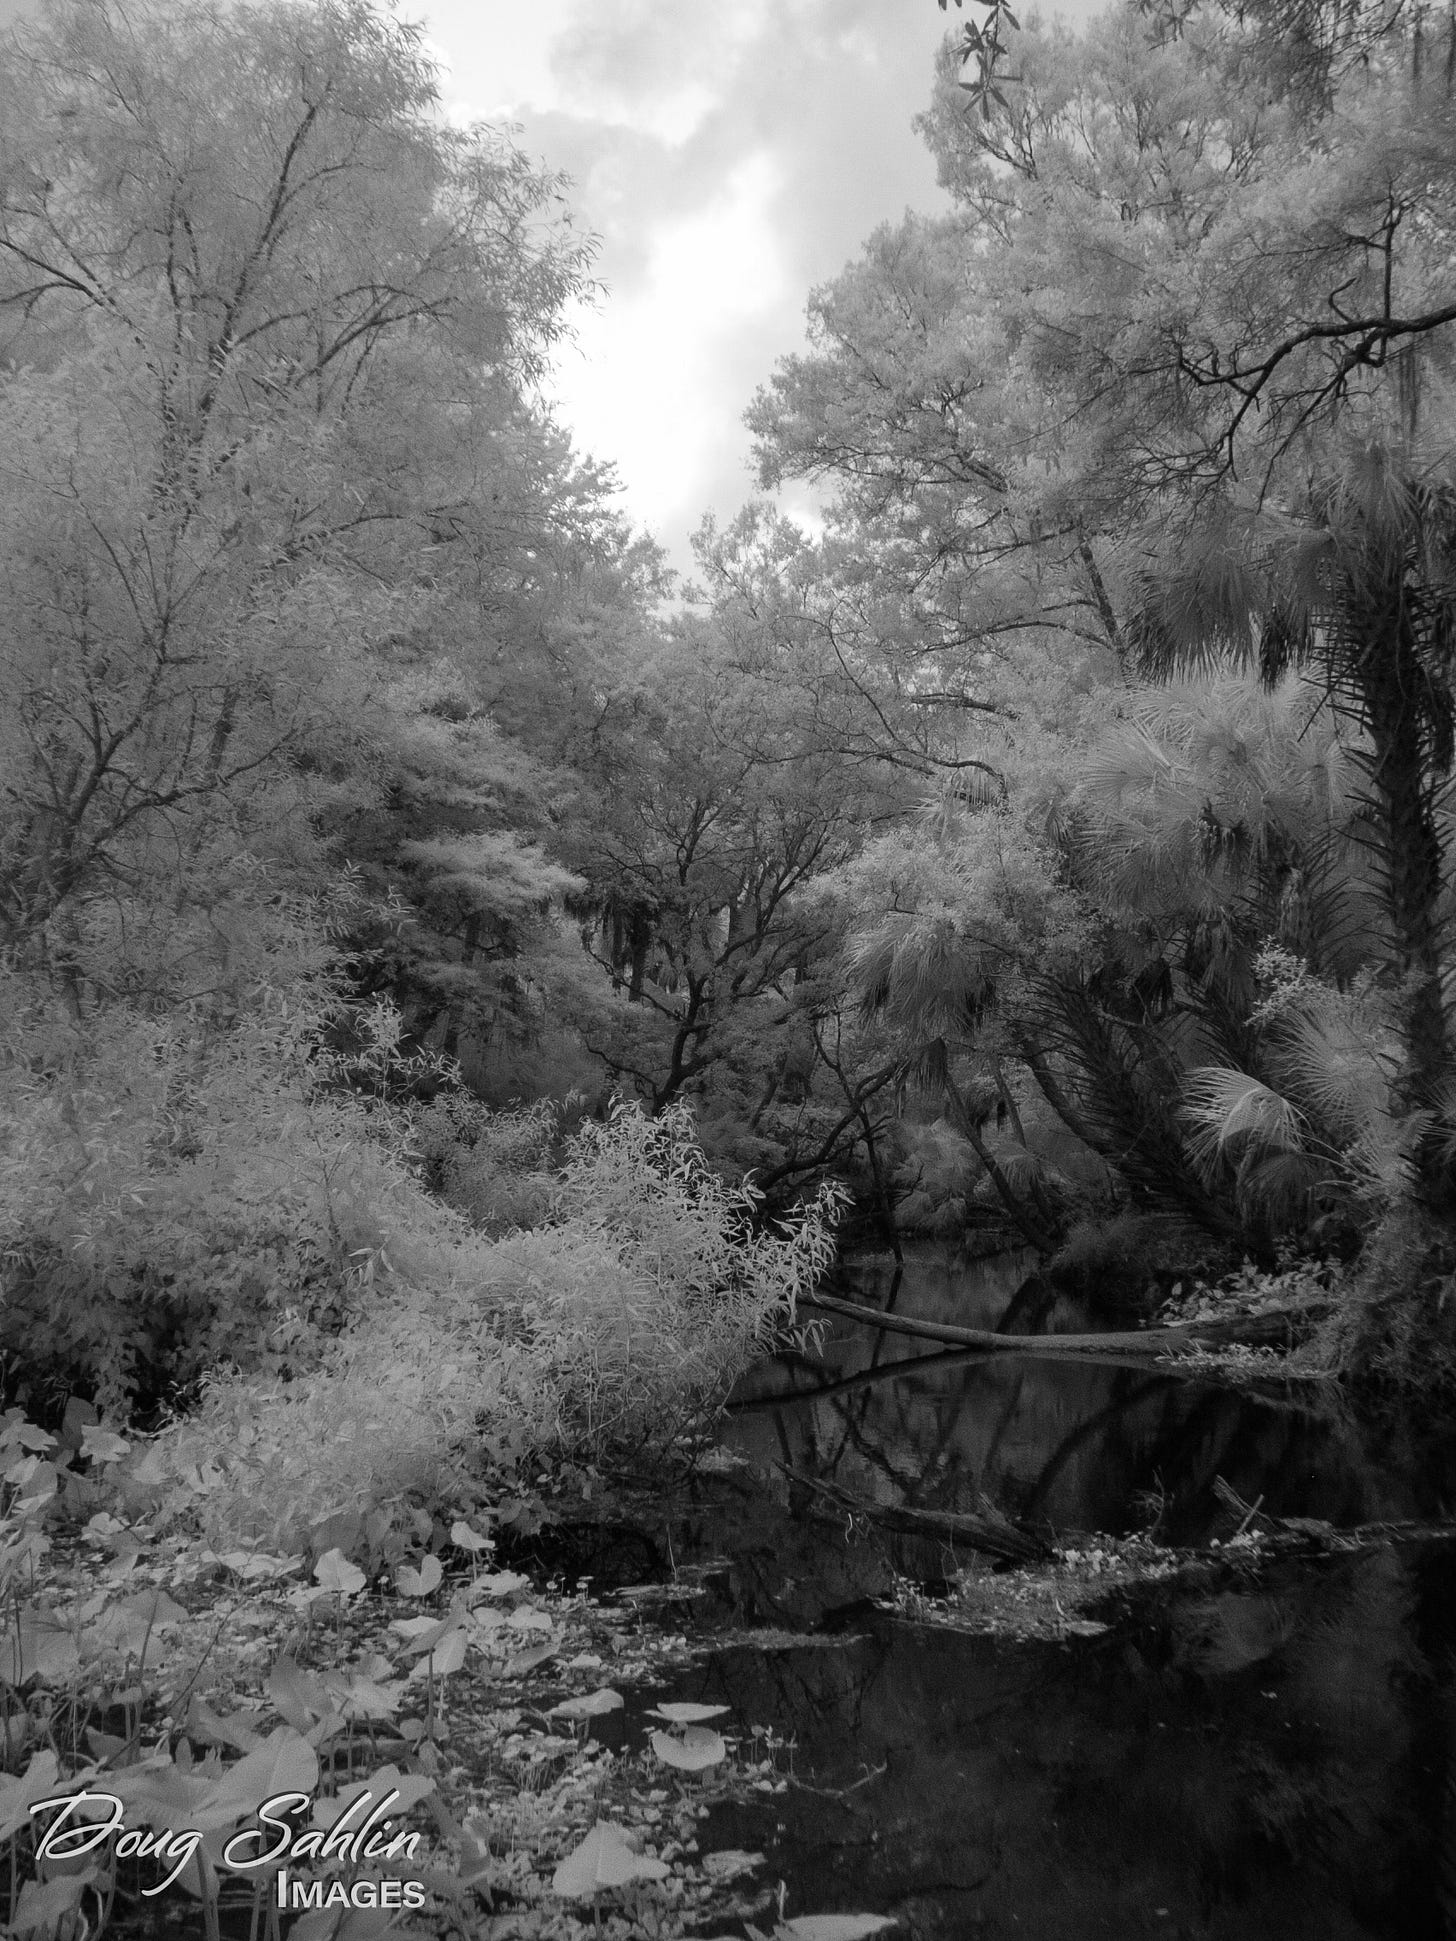
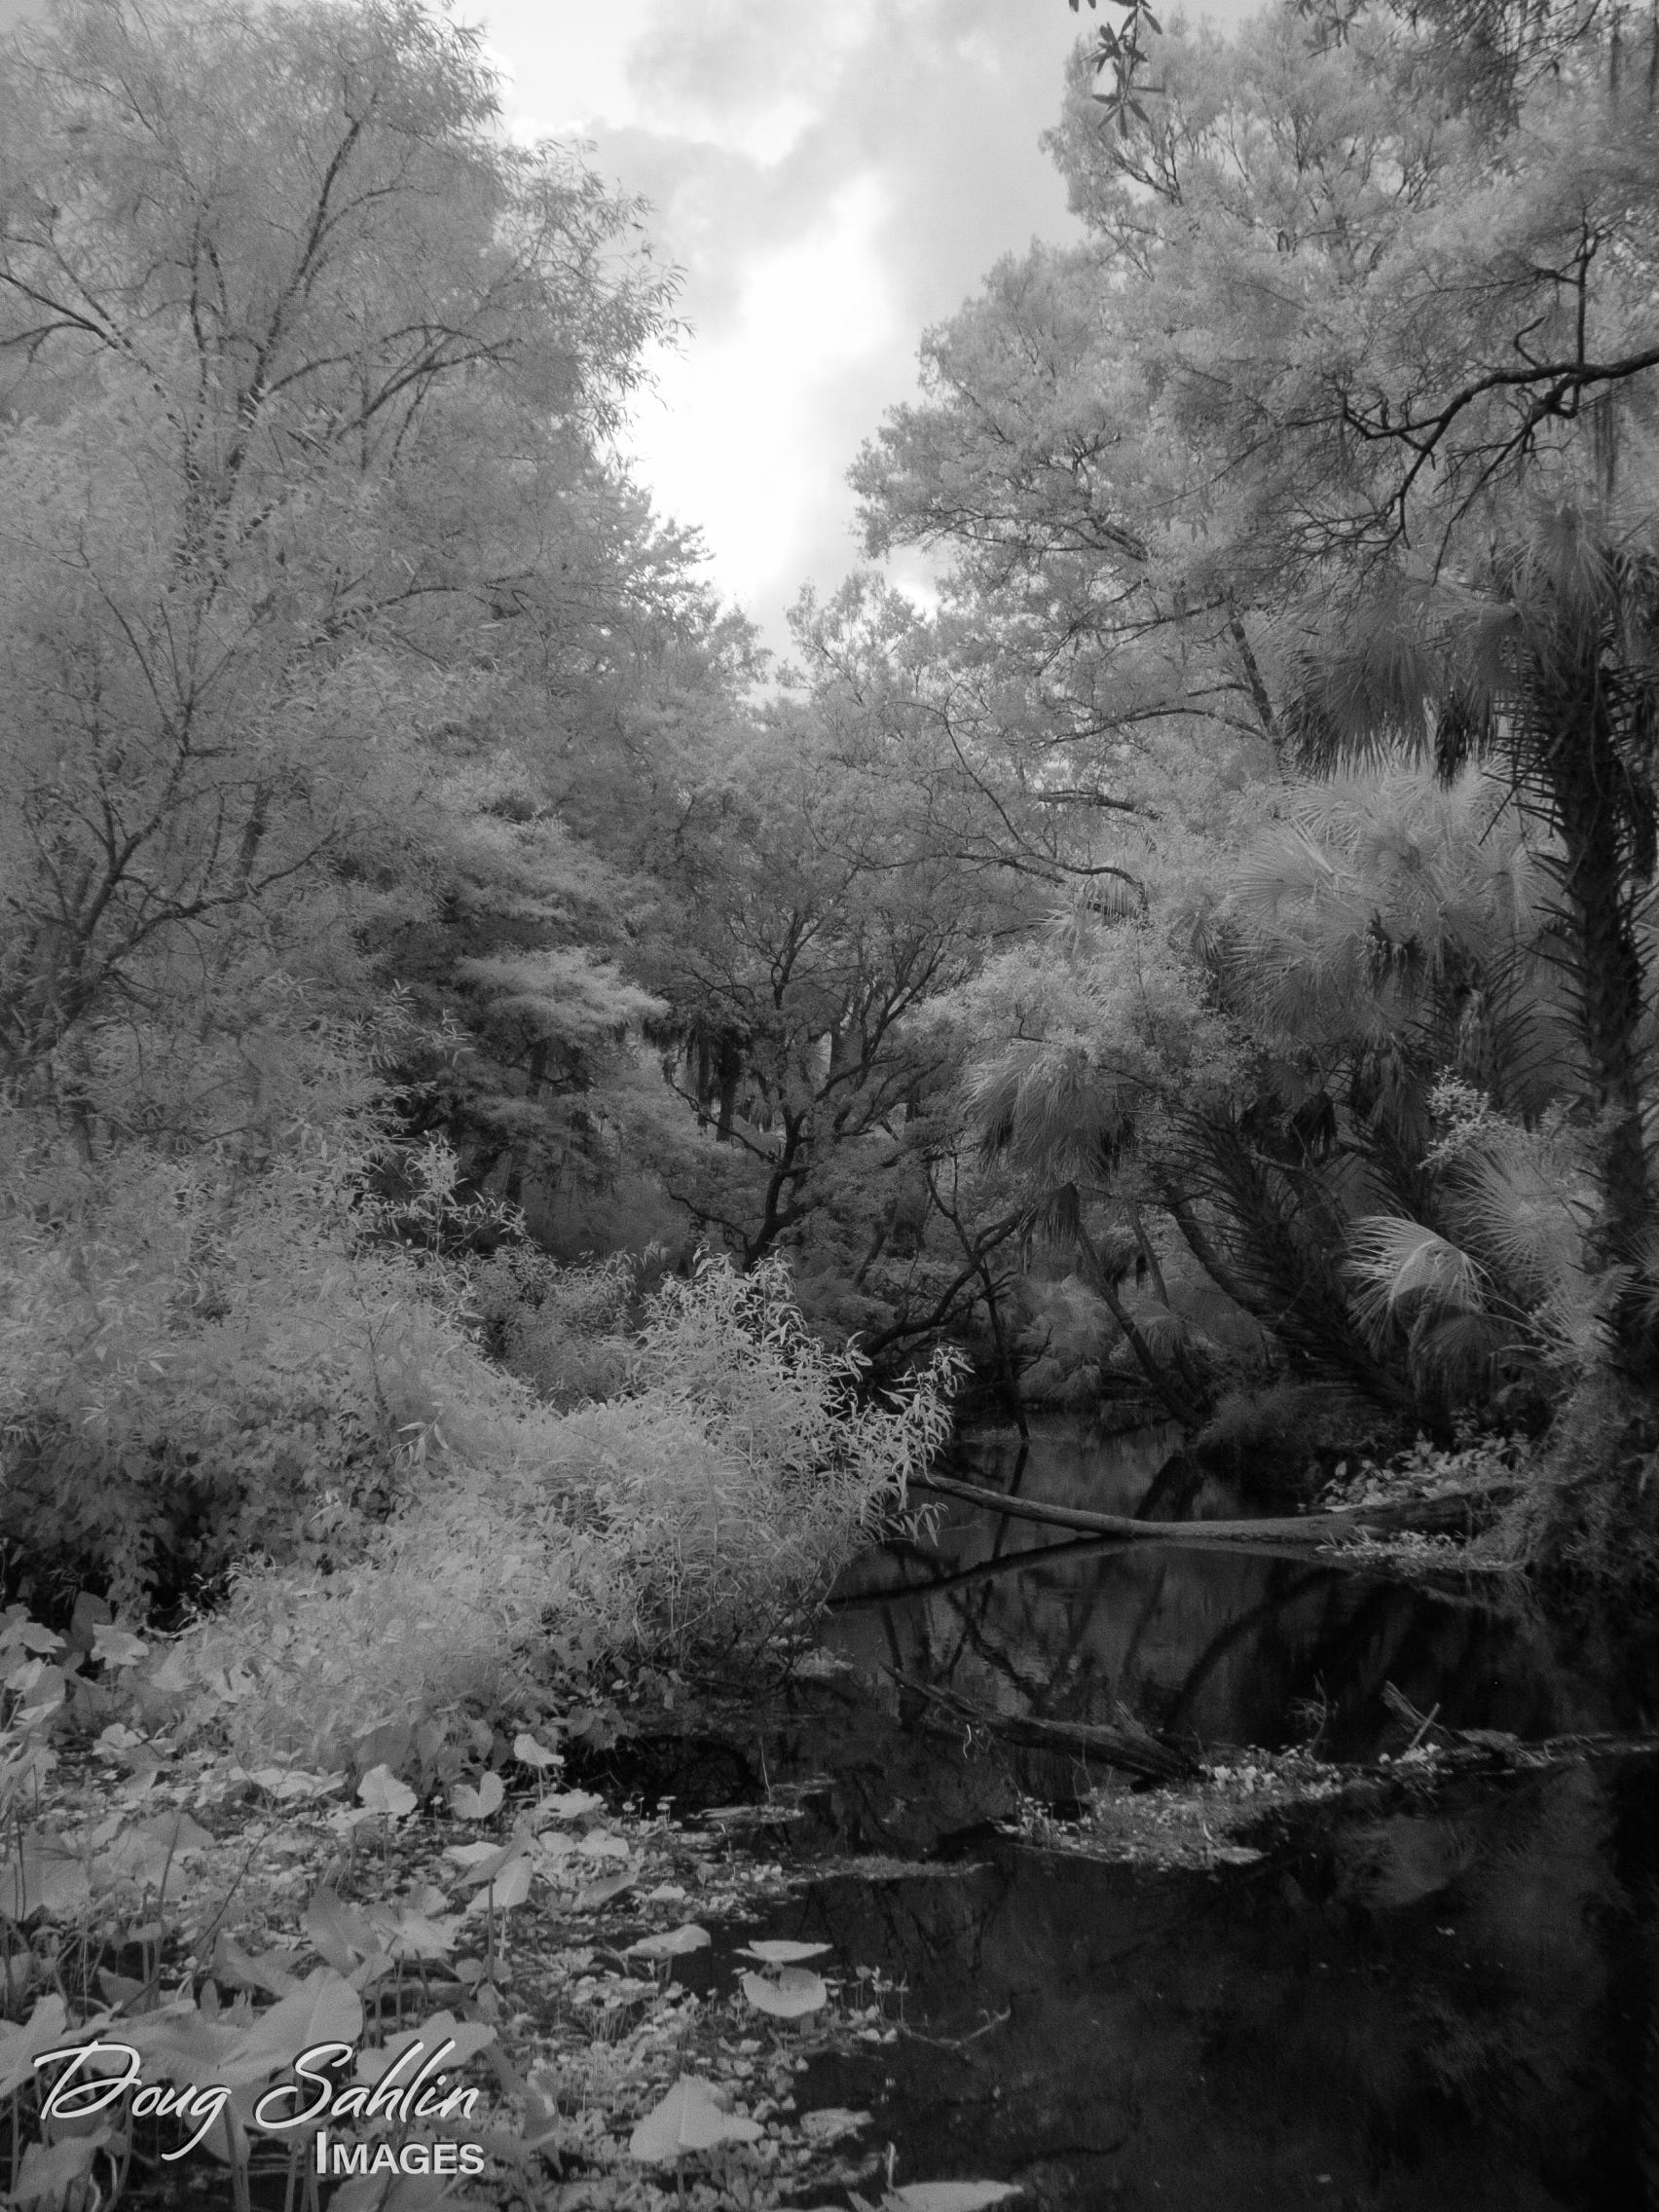
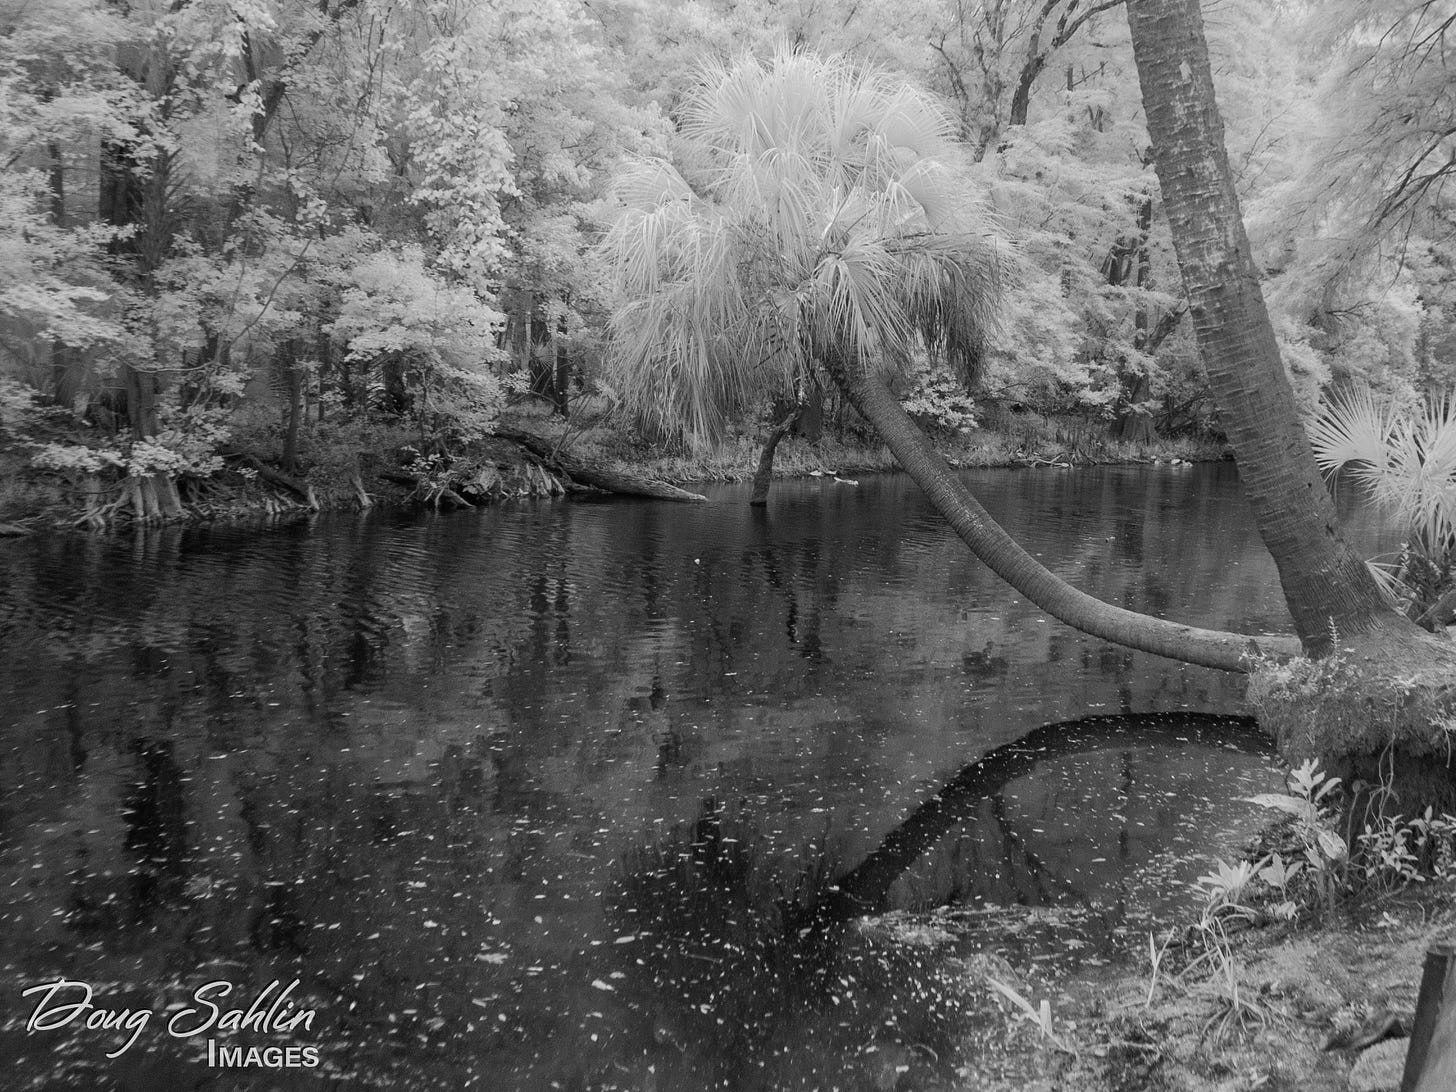
Set Up Your Shot: Find a scene with interesting elements and good infrared potential. Infrared light behaves differently from visible light, so foliage, clouds, and water tend to appear particularly striking.
Adjust Camera Settings:
Set your camera to manual mode to have full control over exposure settings.
Increase your camera's ISO setting to compensate for the reduced light transmission of the infrared filter.
Set a longer shutter speed to allow enough light to reach the sensor. Since infrared filters typically block a significant portion of visible light, exposure times can be several seconds or more, especially in bright conditions.
Focus: Due to the different wavelengths of infrared light, autofocus may not work reliably. Switch your lens to manual focus and adjust it until your subject appears sharp.
Use a Tripod: Since infrared photography often requires long exposure times, using a tripod is crucial to avoid camera shake and ensure sharp images.
Compose Your Shot: Frame your scene and compose your shot as desired, keeping in mind the unique characteristics of infrared light.
Capture Your Image: Use a remote shutter release or the camera's self-timer function to minimize camera shake during the exposure. Press the shutter button and allow the camera to capture the image.
Review and Adjust: Review your images on the camera's LCD screen and make any necessary adjustments to exposure settings or composition.
Using Converted Digital Cameras:
Equipment Needed:
Converted digital camera (either self-converted or purchased pre-converted)
Compatible lenses
Tripod (as needed)
Remote shutter release (as needed)
Steps:
Choose a Conversion Method: Decide whether you want to convert your existing digital camera to infrared or purchase a pre-converted camera.
Conversion Process:
DIY Conversion: If you're comfortable with electronics and camera repair, you can attempt to convert your camera yourself using an infrared conversion kit. This involves disassembling your camera and removing the infrared-blocking filter from the sensor.
Professional Conversion: Alternatively, you can send your camera to a reputable camera repair shop or service center specializing in infrared conversions. They will professionally convert your camera for you, ensuring optimal results and preserving the camera's functionality.
Selecting a Conversion Type: Choose the type of infrared conversion you want based on your desired infrared effect:
Full Spectrum: Converts the camera to capture a broad spectrum of light, including ultraviolet, visible, and infrared wavelengths. Requires the use of external filters to achieve specific infrared effects.
IR Filter Removed (IR-Only): Removes the infrared-blocking filter from the sensor, allowing the camera to capture only infrared light. Suitable for dedicated infrared photography without the need for external filters.
Shooting with a Converted Camera: Once your camera is converted, shooting infrared images becomes much simpler. Follow the same basic principles of composition, exposure, and focus as you would with a standard digital camera.
Experiment and Explore: With a converted camera, you have the flexibility to shoot infrared images in various lighting conditions and scenes without the hassle of attaching external filters.
Post-Processing: Infrared images often require post-processing to fine-tune colors, contrast, and other aspects of the image. Experiment with different editing techniques to achieve your desired infrared aesthetic.

Conclusion:
Whether using infrared filters with a standard digital camera or shooting with a converted camera, creating infrared images opens up a world of creative possibilities. Experiment with different subjects, lighting conditions, and techniques to capture unique and captivating infrared photographs. Remember to have fun and let your creativity guide you on your infrared photography journey!