


Master Lightroom’s Adaptive Profiles for Next-Level Edits
Adaptive Profiles-Work Smarter
Lightroom’s Adaptive Profiles are one of those under-the-radar tools that can instantly elevate your edits. Unlike basic profiles that apply a static look, Adaptive Profiles intelligently adjust to the image, enhancing tones, contrast, and details in a way that feels organic. These profiles work great with landscapes, but try them on any image. You can apply an Adaptive profile with just one click. Let’s dive in.
What Are Adaptive Profiles?
Think of them as smart filters that adapt dynamically to the unique tones and contrast of each image. Adaptive Profiles use AI to determine the changes made to the image, allowing for intelligent adjustments based on its content. This allows for a more controlled and creative approach to enhancing an image while still preserving manual fine-tuning options.
Note that you must update to the following versions of Lightroom to have the Adaptive Color and Adaptive B&W features:
• Lightroom Classic: version 14.2 or later
• Lightroom Desktop: version 8.2 or later
• Lightroom Mobile: version 10.2 or later
Important Notes:
Adaptive Profiles only work with RAW files. If you’re working with JPEGs or TIFFs, they won’t be available.
Adobe warns users not to use Adaptive Profiles with the Auto feature in the Develop module, as it can produce unpredictable results.
There are two types of Adaptive Profiles: Adaptive Color and Adaptive B&W.
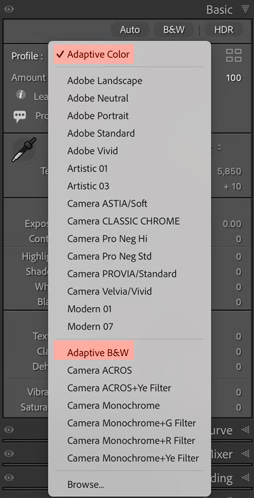
Where to Find Adaptive Profiles
1. Open an image in the Develop module.
2. Open the Profile drop-down menu.
3. Choose Adaptive Color or Adaptive B&W.
4. Click to apply, then fine-tune with the Amount slider (0 to 200%).
Best Uses for Adaptive Profiles
1. Enhancing Landscapes
For outdoor shots, Adaptive Color can provide spectacular results. This profile boosts contrast, enriches colors, and enhances depth while keeping details natural. Try increasing the Amount slider to around 130% for a punchier look.
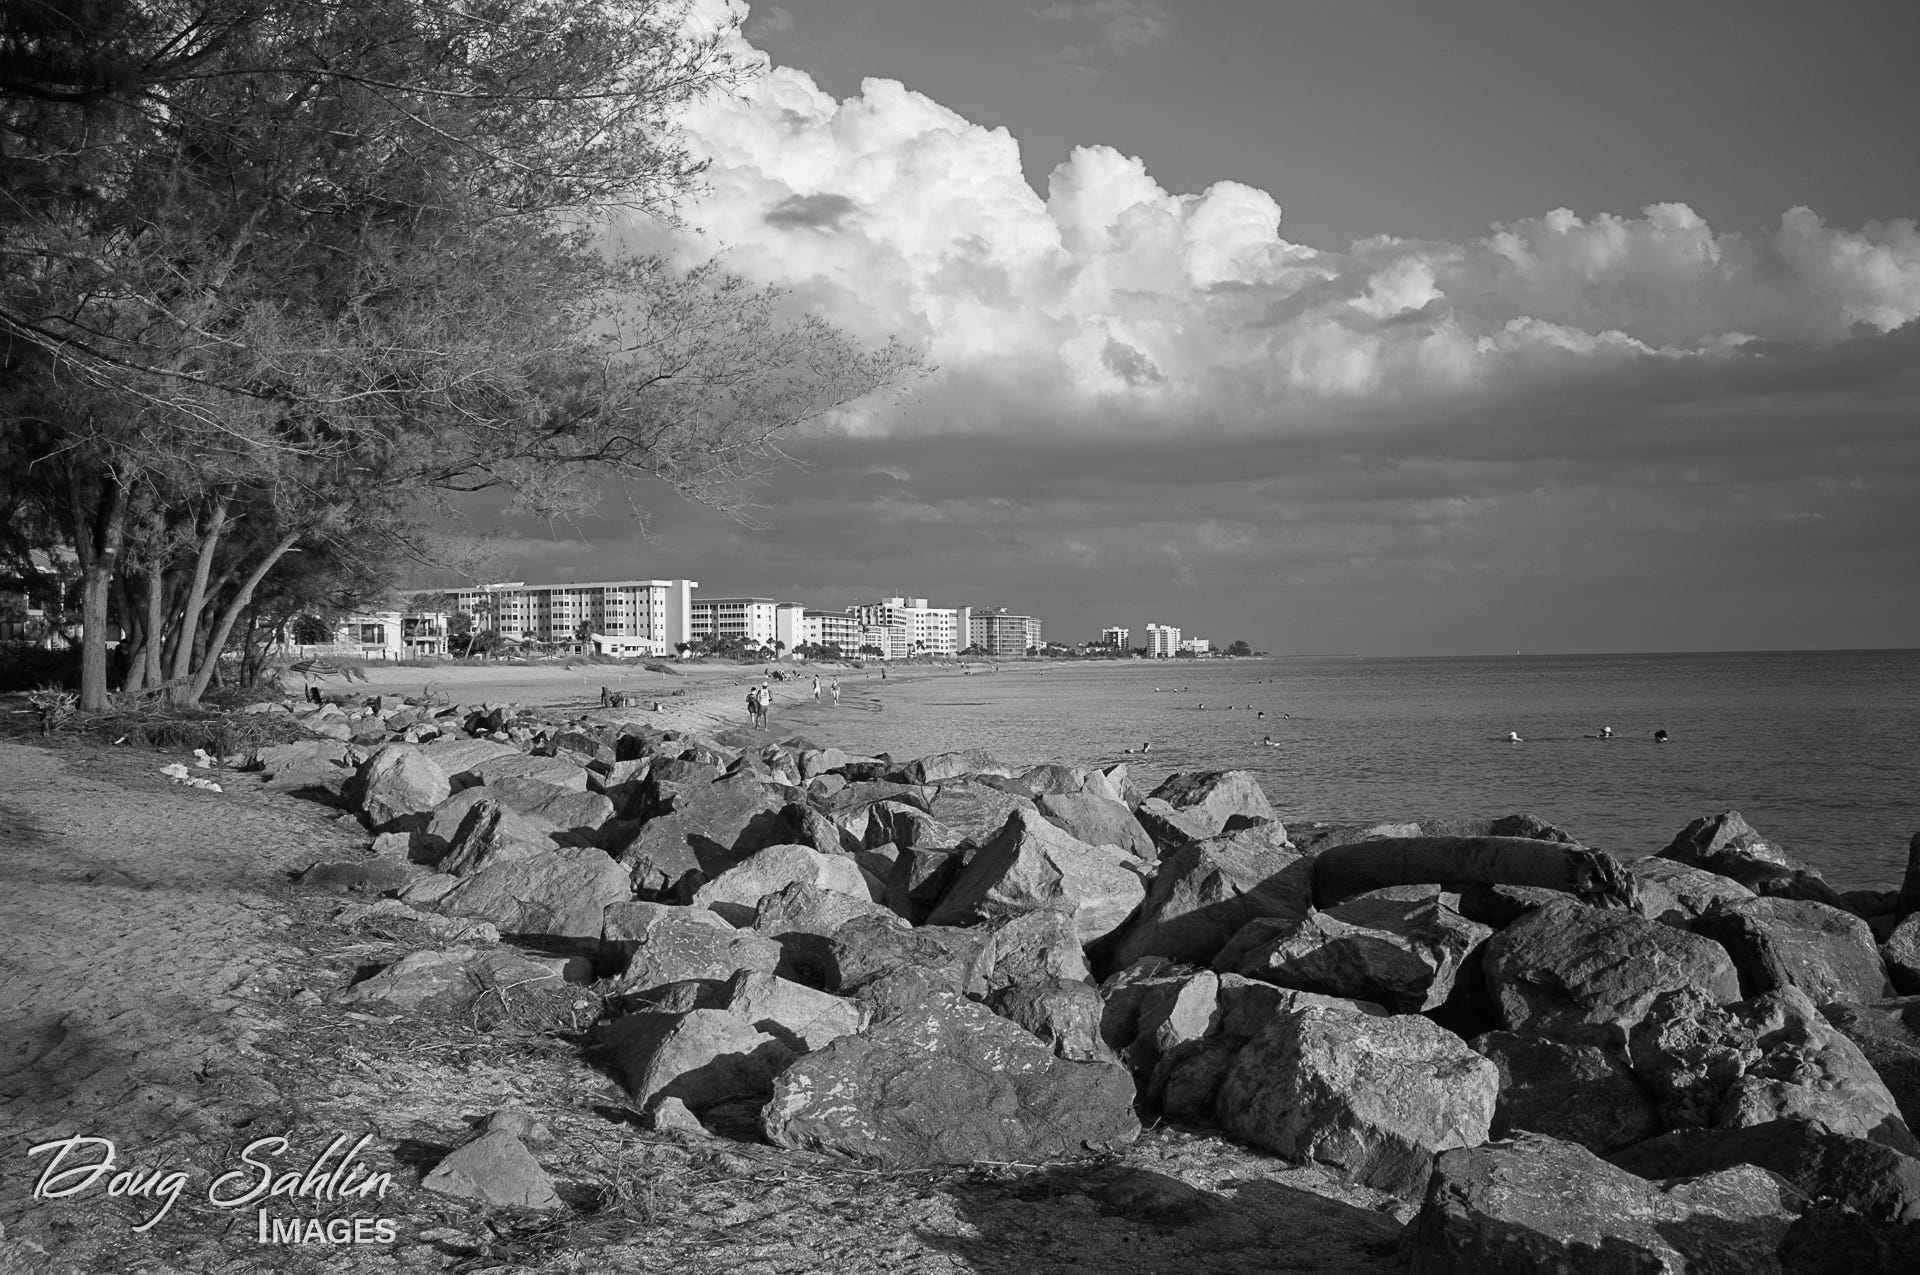
2. Black & White Perfection
For monochrome lovers, Adaptive B&W enhances contrast while preserving midtones. Increase the Amount slider for deep blacks and crisp highlights.
Fine-Tuning Adaptive Profiles
After applying an Adaptive Profile, you can use the features in the Develop module to fine-tune the changes. Adjust exposure, contrast, highlights, shadows, and more to refine the final look. For additional customization, use the Color Mixer, Color Grading, and Effects panel to tweak colors, add vignettes, and enhance textures, ensuring the final image matches your creative vision.
Pro Tip
Refine with Lightroom’s Powerful Masking Features: After applying a profile, use Lightroom's powerful masking features to fine-tune specific areas.
Final Thoughts
Adaptive Profiles are an effortless way to level up your edits. They provide intelligent adjustments while giving you complete control. Next time you’re in Lightroom, take a few minutes to experiment—you might just find your new secret weapon.
The following images are some examples of what you can achieve with a landscape using Adaptive settings. Notice that the foreground of the Adaptive Color image is slightly brighter than the image with Auto settings.
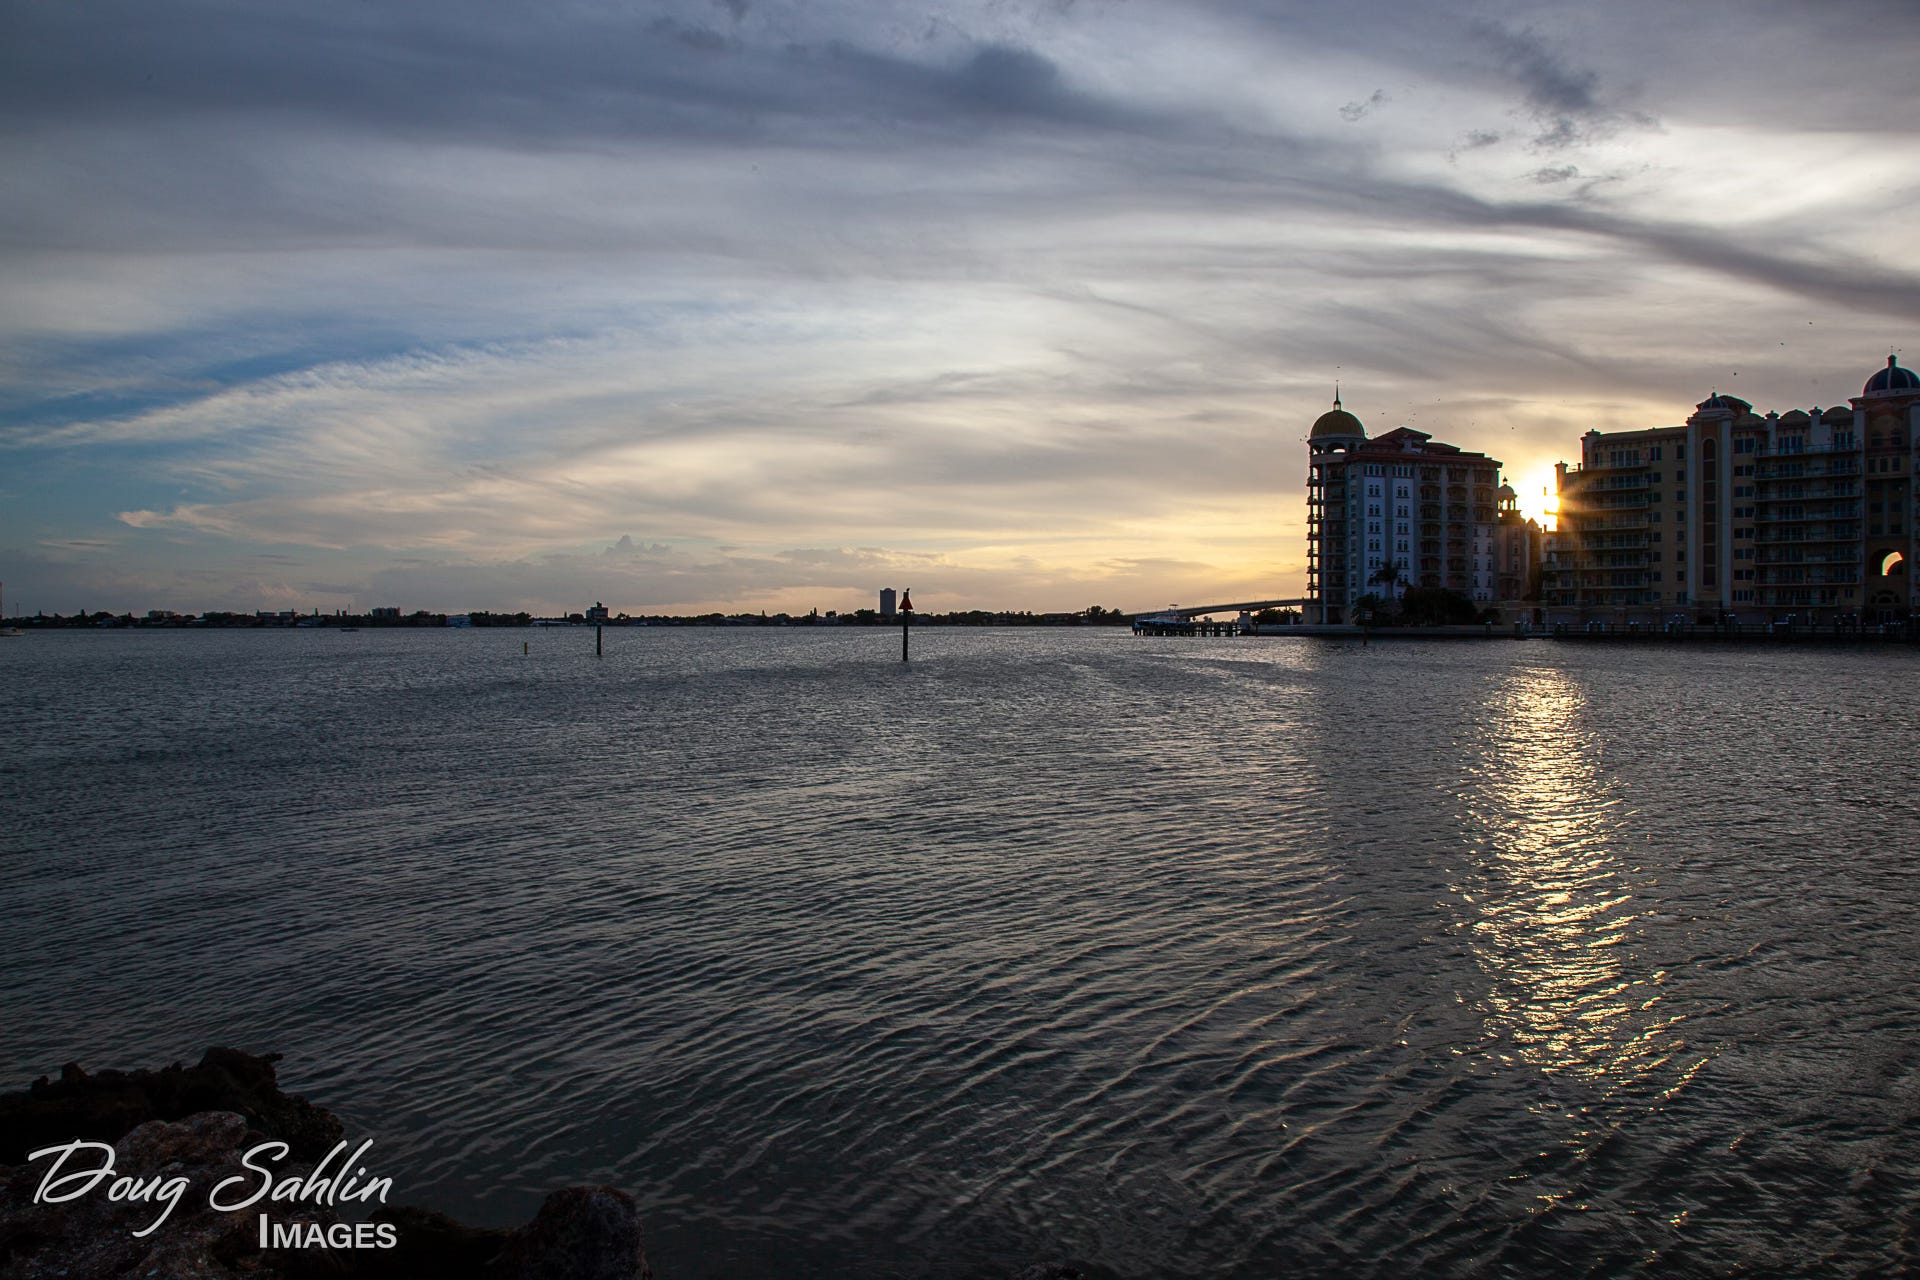
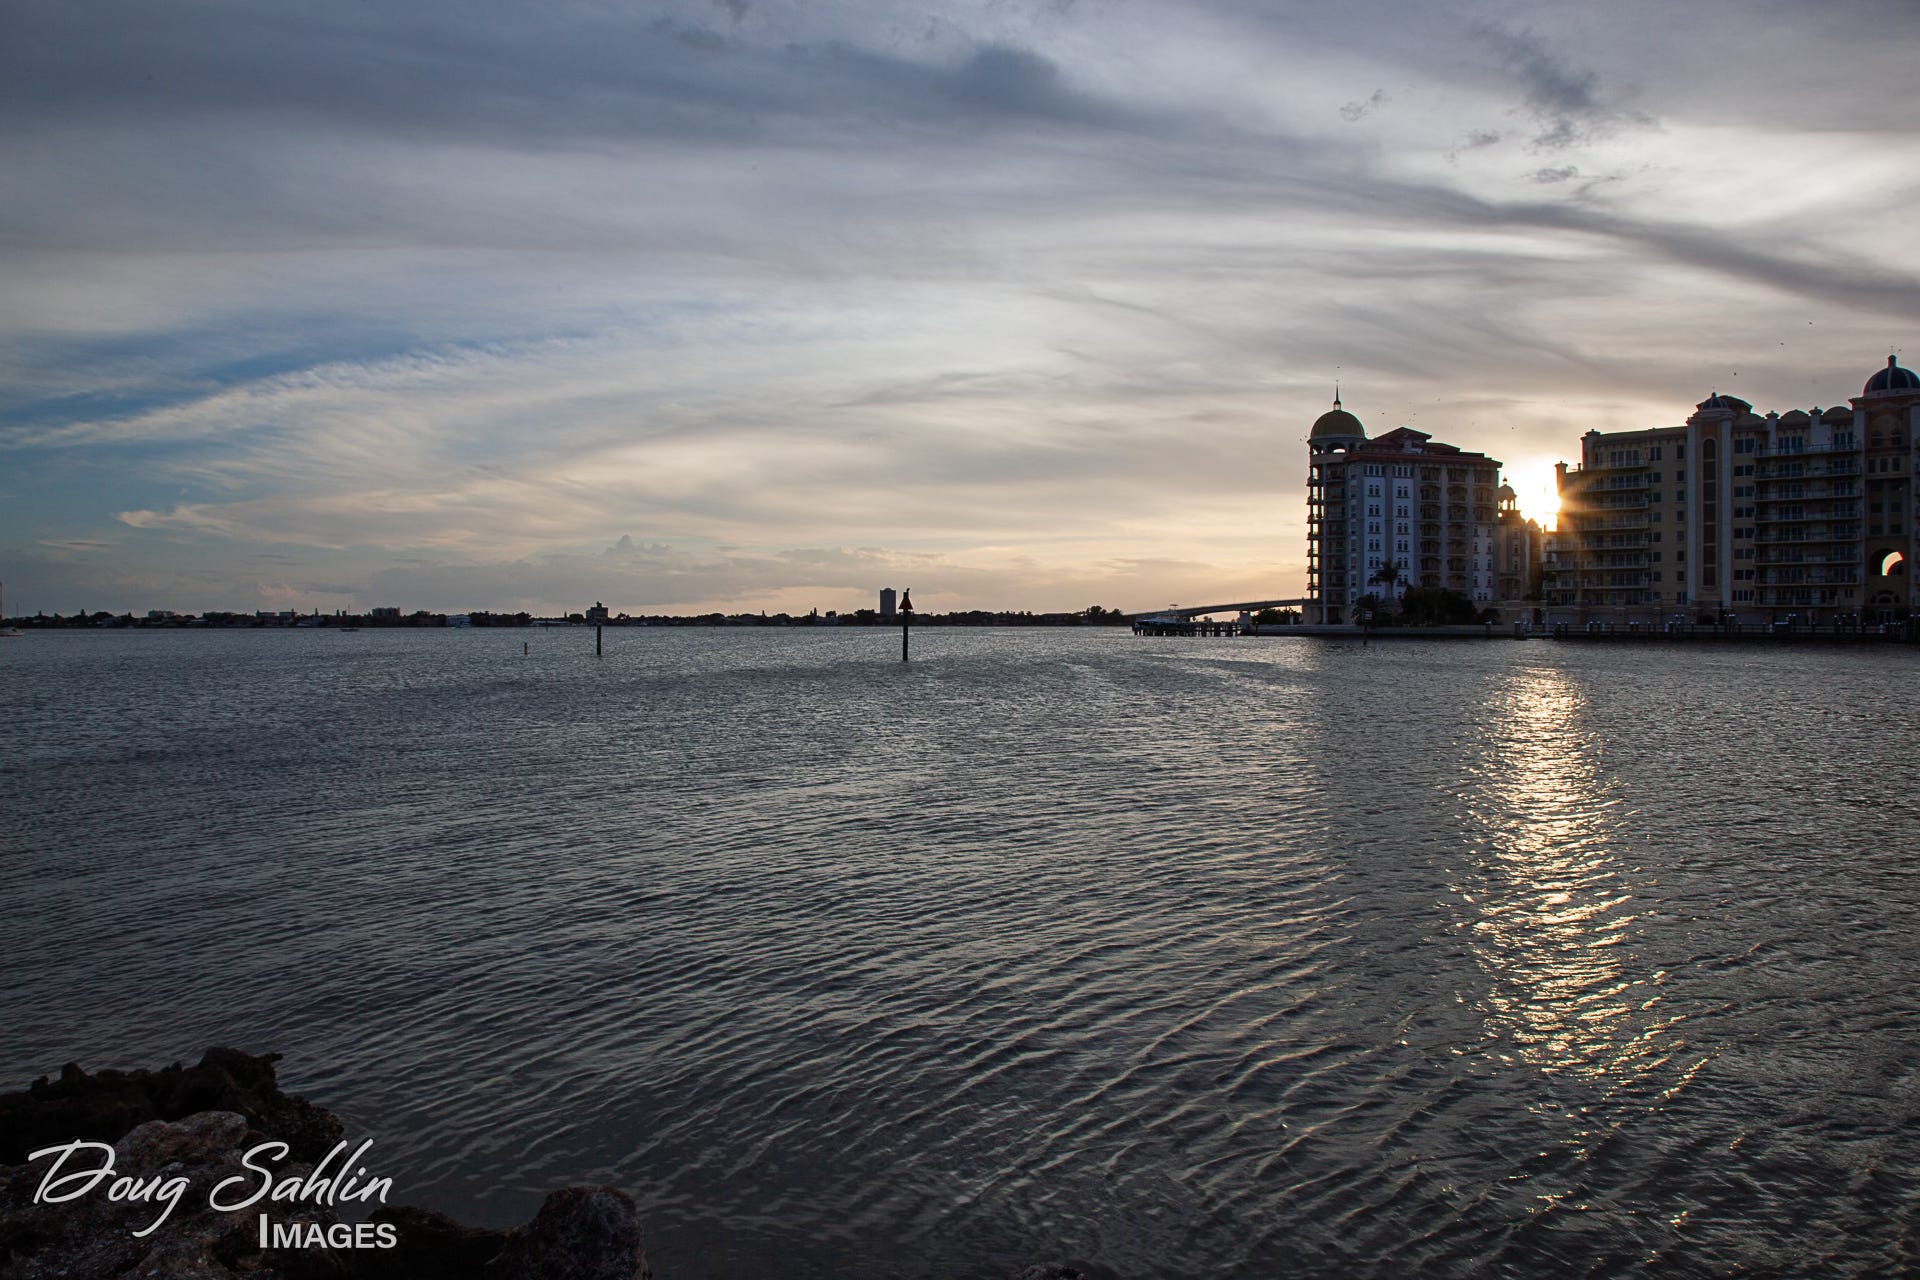
Try it out, and let me know how it transforms your workflow!